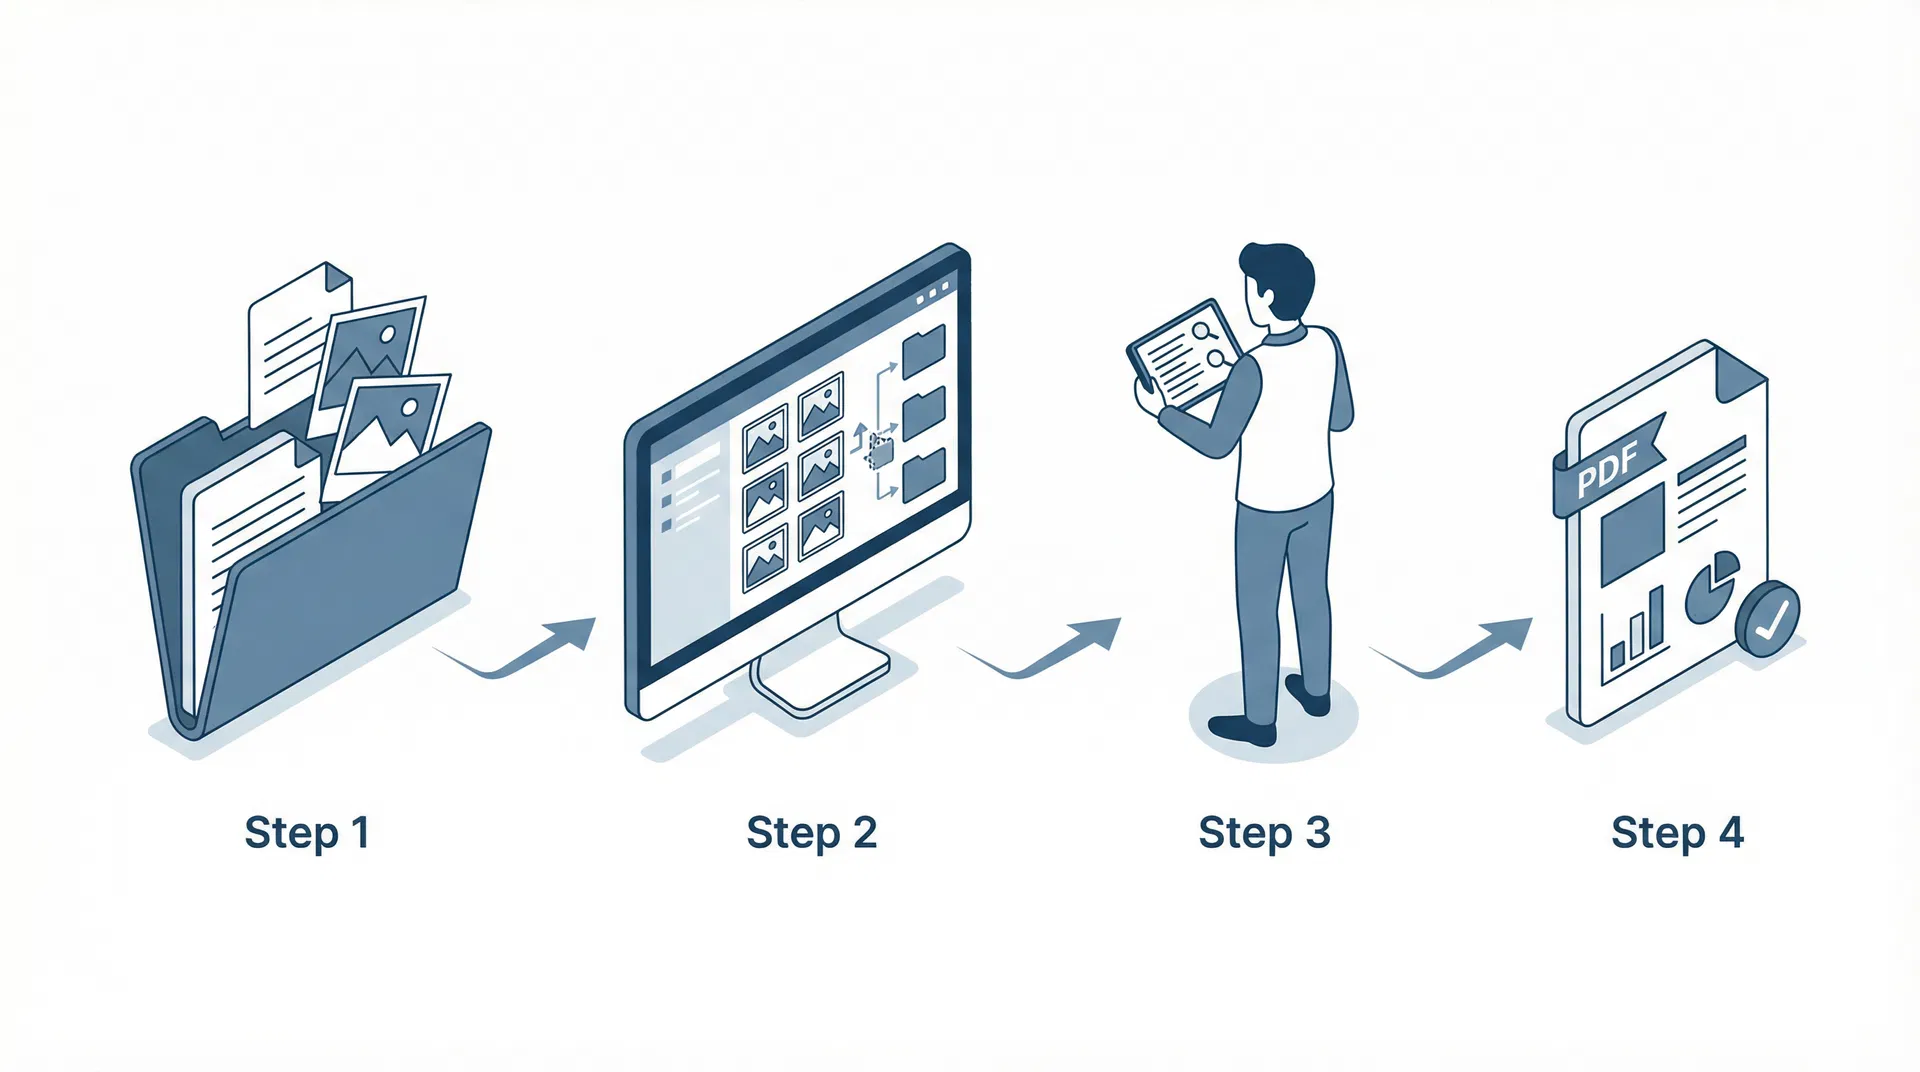
How It Works
A clear process from first photo to final report
Four structured steps that keep every project organized and every report consistent.
Create a Claim / Project
Start by entering the claim number, client name, property address, inspection date, and file type. Add any initial notes or assign the project to a team member.
- Claim number and reference fields
- Client and property information
- File type: property, contents, roof, mitigation
- Assign to inspector or adjuster
Upload Photos and Notes
Upload all claim photos at once using the drag-and-drop uploader. Organize photos into groups by room, elevation, slope, or item. Add captions and tags to each photo.
- Bulk drag-and-drop photo upload
- Group by room, elevation, slope, or item
- Add captions and observation tags
- Mark representative photos per group
Review Grouped Items and Observations
Review the organized photo groups and draft observation text for each item. Assign condition categories and cost estimates. Edit any observation before it goes into the report.
- Editable observation text per item
- Condition: Repairable, Replace, No Damage, Further Eval
- Cost estimate fields
- Link photos to specific observations
Export a Professional Report
Use the Report Builder to structure your final report. Review the live preview, then export a clean branded PDF with cover page, project info, itemized findings, and organized photos.
- Structured report sections with editable blocks
- Live preview before export
- Branded PDF with company logo
- Cover page, findings, photos, and summary